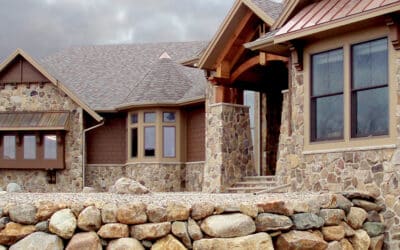
If you are planning to build a retaining wall in your outdoor living space, you may want to consider installing a natural stone wall masonry.
A Natural stone wall masonry, which is a natural stone wall, requires slightly more skills to build because it utilizes no mortar and the stones must fit together like puzzle pieces in order to prevent the wall from folding.
However, the reason that many homeowners decide for a drystone wall rather than a mortared wall is that they are less likely to collapse. Also, as it will let the airflow through it more freely. Therefore, the wall can withstand a higher amount of hydraulic pressure.
A Natural stone wall masonry can certainly prove to be a better option as compared to a wall that uses mortar for the logic that it is less susceptible to weather damage and deterioration.
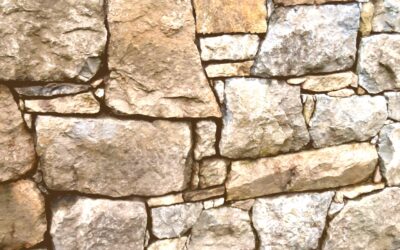
Many people also choose the look of a Natural stone wall masonry. The reason is that it resembles the style of the rock walls left over from the farms of early settlers.
Do you think that you have enough skills to build your own dry stone wall? Read the following article that truly outlines the steps, materials, and terms needed to build a strong dry stone wall. This will help you to acknowledge if building a dry (natural) stone wall is the sort of project that you would like to proceed with.
Do It Yourself – How To Build Natural Stone Wall Masonry
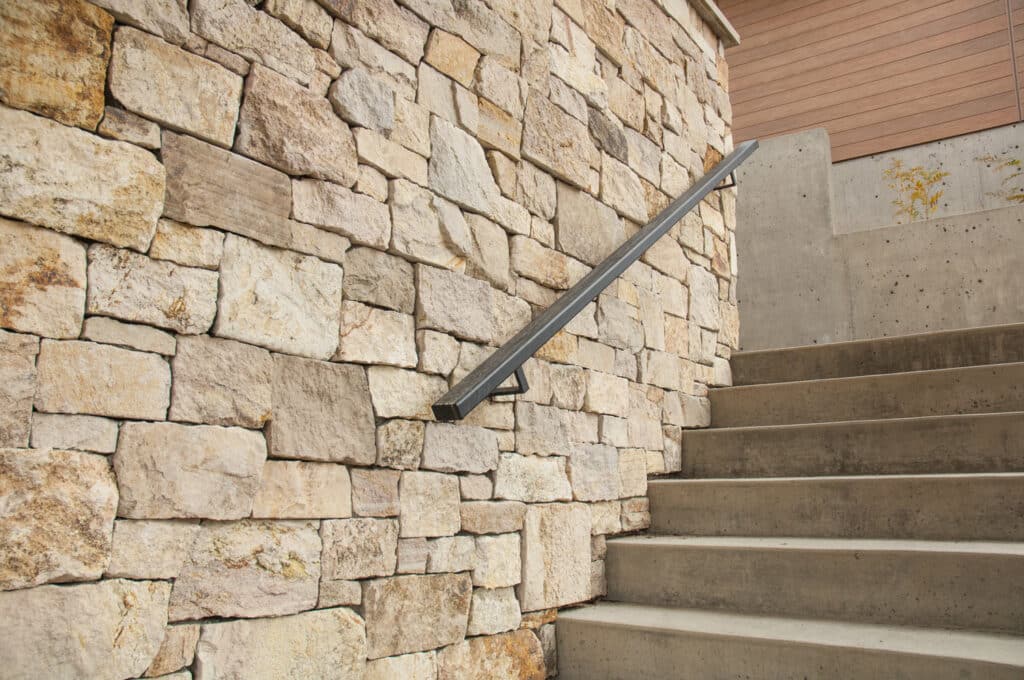
Dry stone retaining walls add beauty and enhance the value of your house as well as retain slopes to add usable level ground. The design and construction of dry stone walls are projects that can be undertaken by most landlords with great success.
Wall Construction Tips
When designing any wall, it always helps to position the wall in the middle of the slope. This gives an equal amount of soil removed that will be needed as backfill. On uneven grades, the contour should be taken from the bottom of the wall while all courses are laid flat making a wall of varying heights with a level top. All dry stone walls should be built with a thickness equal to half of the overall height. Walls should be constructed by leaning back towards the slope about two inches per foot of height for stability. For walls that exceed two and one-half feet in height, the use of bonding stones and a drainage system are imperative for long periods of complete stability.
Bonding stones neutralize a wall and make connections to the slope that is being retained. Drainage behind any retaining wall of size is very critical. Hydraulic pressure is responsible for the failure of most walls.
How To Incorporate a Drainage System In Your Wall
Keep a twelve-inch wide space behind the wall and lay a four-inch perforated drainpipe on the bottom. Then backfill with clean aggregate. Also, make the separation in the drainage system from the slope with a layer of landscape fabric. This stops soil intrusion. The drainpipe can be guided to a lower area away from the wall diminishing the chances of erosion.
For dry stone walls that will not go beyond two and one-half feet in height, elaborate drain systems are not necessary, although landscape fabric is still required to stop soil on the slope from washing through the wall by creating erosion above and behind the wall.
Tools and Materials You Will Need
- Tools: Shovel, small sledgehammer, string and string level, stakes to hold the string, hand tamper, safety glasses, tape measure, and a builders level.
- Materials: For walls more than two and one half feet tall, add aggregate and four-inch drain pipe.
Take Into Consideration
- Bonding stones: Longer stones turned to run from the front face of a wall through the wall and protrude out the back of the wall into the backfill material. These stones include structural as well as lateral strength to a wall.
- Course: An incessant horizontal layer of stone that maintains a constant level height.
- Hydraulic pressure: The lateral force produced by water when its natural flow is slowed or stopped.
- Capstone: Uniform sized stones used as the top course on a wall.
- Shim stone: A small and/or thin stone used to level and stabilize other stones in a wall.
Also, Consider Checking our Stonework Services
Calculate materials needed
- Stone: Determine the length, width, and height of the wall in feet. Average the width and the height if they are not consistent. Multiply the length x width x height to get the cubic footage.
- Landscape fabric: Take the height of the wall and add 1.5 feet then multiply by the length of the wall to attain square footage.
Example: 20′×(2′ +1.5′) = 70 square feet.
Note: For walls more than 2.5 feet tall add 3.5 feet to the height when figuring landscape fabric width. This allows enough fabric to encapsulate the drainage aggregate.
As long as these calculations and processes are performed accurately, you are always guaranteed to get the best of assurances.